Draw shapes with the pen
With the pen you draw freehand lines in the viewport and turn them into an object. One line becomes a tube that follows it. Two or more lines become a loft, a thin curved surface stretched from each line to the next in the order you drew them, like fabric over the ribs of a boat.
Draw strokes and loft them
Turn on the pen by clicking the pen button at the bottom of the column on the left edge of the window, below the light button.
A bar at the top of the viewport reads PEN · STROKES: 0, followed by LOFT, CLEAR and EXIT.
ADD OBJECT ▸ PEN / LOFT in the toolbar and PEN / LOFT in the menu you get by right-clicking empty ground also turn on the pen, and so does PEN: DRAW STROKES in the command palette. The pen has no keyboard shortcut.
Drag in the viewport to draw a stroke.
A line follows the pointer and stays in place when you let go. The count in the bar goes up by one.
Each stroke lies on a flat, invisible sheet that faces you and passes through the point the camera circles around. Strokes drawn without moving the camera all lie on the same sheet.
Hold Option and drag to circle to a new angle.
The strokes you have drawn turn with the scene. The next stroke lands on a sheet facing the new view, at an angle to the one before.
Draw the next stroke, and repeat steps 3 and 4 for as many strokes as the shape needs.
Each new stroke raises the count in the bar.
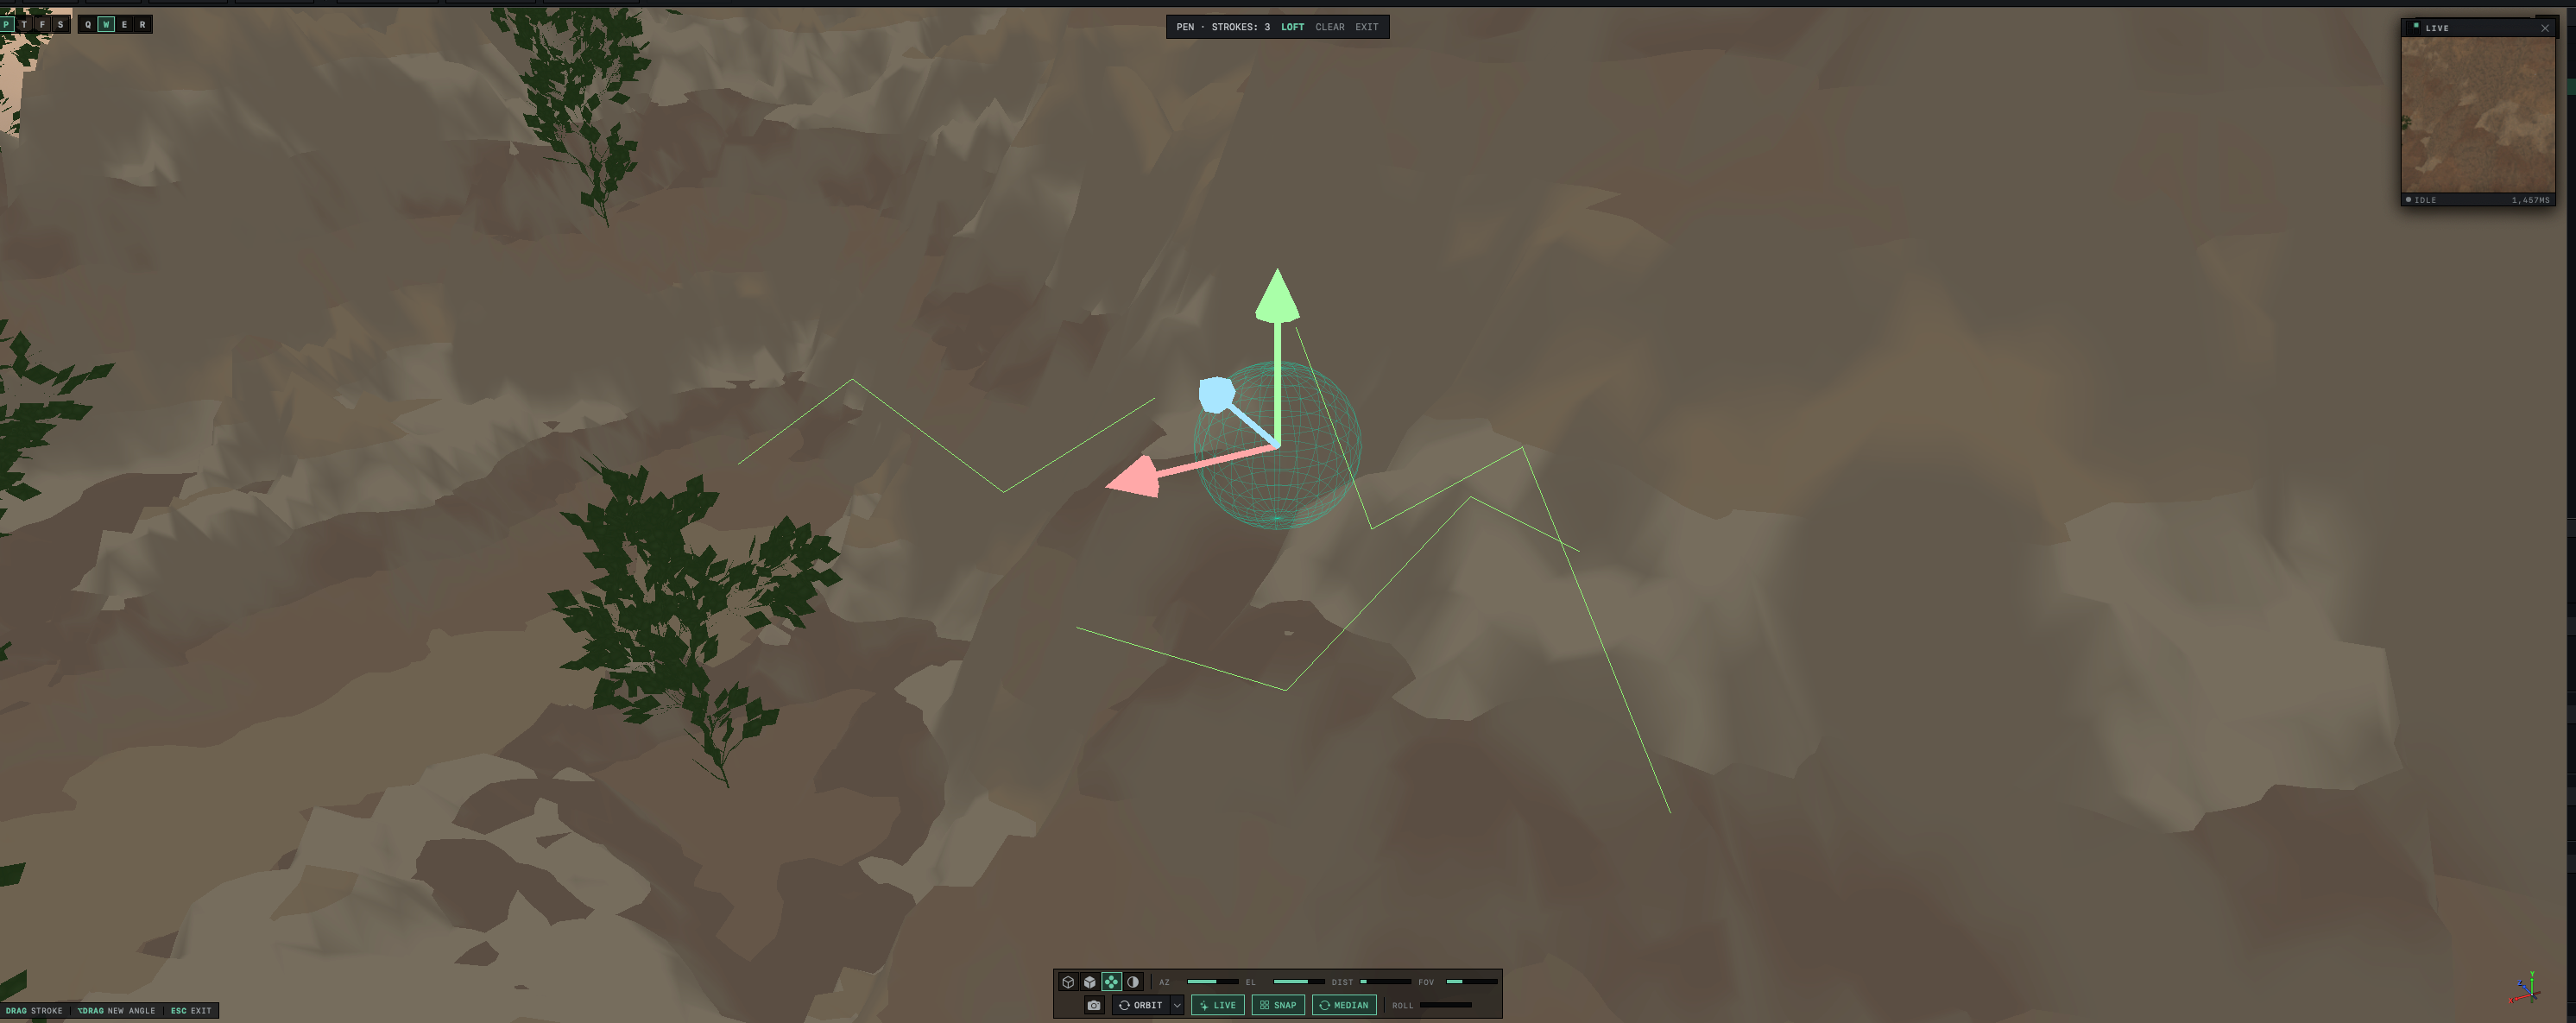
Click LOFT in the bar.
The strokes are replaced by one selected object and the pen turns off. Adding the object is one undo step, so
⌘Zremoves it.
CLEAR throws away the strokes and leaves the pen on, ready for new ones. EXIT, or Esc, turns the pen off and throws the strokes away as well, so click LOFT first if you want to keep them. Strokes that have not been lofted are not saved with the scene.
While the pen is on, every drag without Option draws, so objects cannot be moved. Clicking an object still selects it, and scrolling zooms as usual.
One stroke makes a tube
LOFT with a single stroke makes a SPLINE TUBE, a thin round tube 0.12 m in radius that follows the line. Its settings are those of any SPLINE TUBE. RADIUS makes it thicker, and EDIT SPINE lets you move the points along its path.
A SPLINE TUBE cannot become an editable mesh, so a one-stroke tube has no MAKE EDITABLE (TAB) button. The kinds that do convert are listed in How Orbit builds objects.
Two or more strokes make a loft
With two or more strokes, LOFT makes an object named Loft 1. Orbit joins the first stroke to the second, the second to the third and so on, so the order you draw them in decides the shape. If you draw a stroke in the opposite direction from the one before it, Orbit reverses it to keep the surface from twisting.
In the INSPECTOR, a loft has one setting of its own, RESOLUTION. It sets how many points Orbit places along each stroke, from 8 to 64, and starts at 24. More points follow the strokes more closely and make a denser surface. Below the slider, a line such as 3 STROKES · MAKE EDITABLE TO RESHAPE gives the number of strokes.
The strokes themselves cannot be redrawn after the loft is made. To change the shape, click MAKE EDITABLE (TAB) or press Tab, and move the points of the surface by hand with the tools in Edit a mesh point by point. Or press ⌘Z to remove the loft, and draw the strokes again.
A loft cannot take part in a boolean. It is a single sheet with no inside, so there is no solid for UNION, SUBTRACT or INTERSECT to work with, and BOOLEAN stays dimmed while a loft is selected. For more on solids and open surfaces, see How Orbit builds objects.