Drill a hole through a block
By typing exact numbers, you set a rod through a block, then subtract the rod to leave a round hole running through the block. The drilled block gets a brushed metal material and studio lighting before you render it and save the picture.
Choose File ▸ New Scene, and answer Save… or Discard if Orbit asks about unsaved changes.
The viewport shows an empty scene.
Click ADD OBJECT in the toolbar and choose BOX. Click ADD OBJECT again and choose CYLINDER.
Both objects stand at the center of the scene, the cylinder inside the box and as tall as it. The cylinder is selected, and the INSPECTOR on the right shows Cylinder 1 at the top.
In the INSPECTOR, scroll down to TRANSFORM. Under SCALE, set X to
0.5, Y to1.5and Z to0.5. For each field, double-click its number, type the new value and press Return.The cylinder becomes a rod half as wide as before and one and a half times as tall. Its top end sticks out above the box.
SCALE multiplies the size of an object along each direction. X and Z run across the ground, and Y runs upward.
Under ROTATION, set X to
90the same way.The rod tips over and lies level through the middle of the box. Its ends poke out of the side facing you and the side opposite.
Hold Shift and click the top of the box.
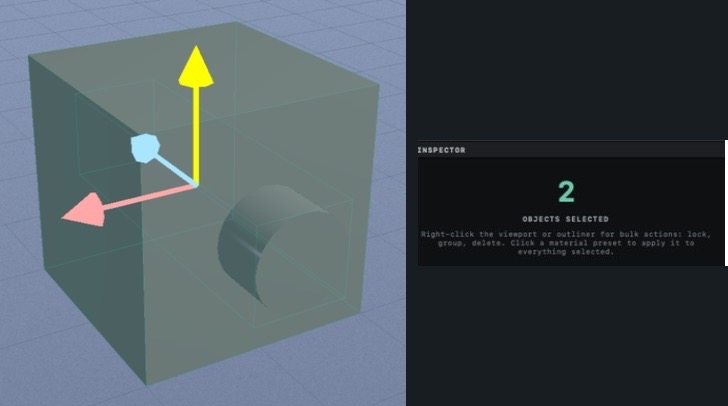
Both objects are selected. The INSPECTOR shows 2 above OBJECTS SELECTED.
A subtraction keeps the object selected last and cuts the others out of it, so the order of the clicks matters. Here the box is selected last.
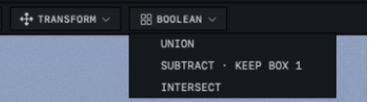
Click BOOLEAN in the toolbar. Check that the menu reads SUBTRACT · KEEP BOX 1, then choose that item.
COMPUTING BOOLEAN… may appear in the viewport while Orbit works. The box and the rod are then replaced by a single selected object, Box 1 − Cylinder 1, with a round hole through it.
If the menu reads SUBTRACT · KEEP CYLINDER 1, the rod was selected last. Click one end of the rod, hold Shift and click the top of the box, then open BOOLEAN again. If BOOLEAN is dimmed, hold the pointer over it to read the reason, and see The BOOLEAN menu is grayed out.
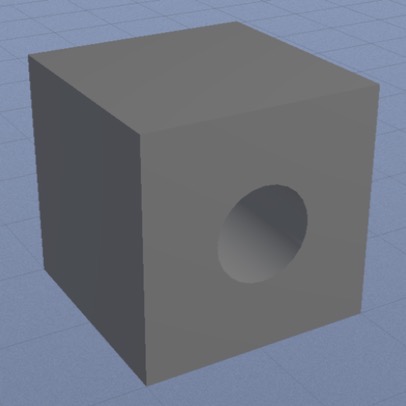
Hold Option and drag in the viewport to circle around the block.
The hole comes out on two opposite sides of the block.
In the MATERIALS strip at the bottom of the window, click Brushed Metal.
The block takes the Brushed Metal material. It stayed selected after the subtraction, so the card applies to it.
Click LIGHTING in the toolbar and choose STUDIO.
In OBJECTS, the lights of the scene are replaced by Top Light and Front Light. Top Light is a square panel of light above the block. The block is no longer selected.
The material comes first because a lighting preset clears the selection.
At the bottom right of the window, click the RENDER card. Under PRESET, click CHROME 2000, then click DONE.
The card reads Chrome 2000, and in the render the stepped edges along the outline of the block and the rim of the hole come out smoother.
Click EXPORT RENDER, near the right end of the toolbar, then click RENDER in the sheet that opens.
RENDERING counts up to 100%, and SAVE IMAGE appears when the picture is complete.
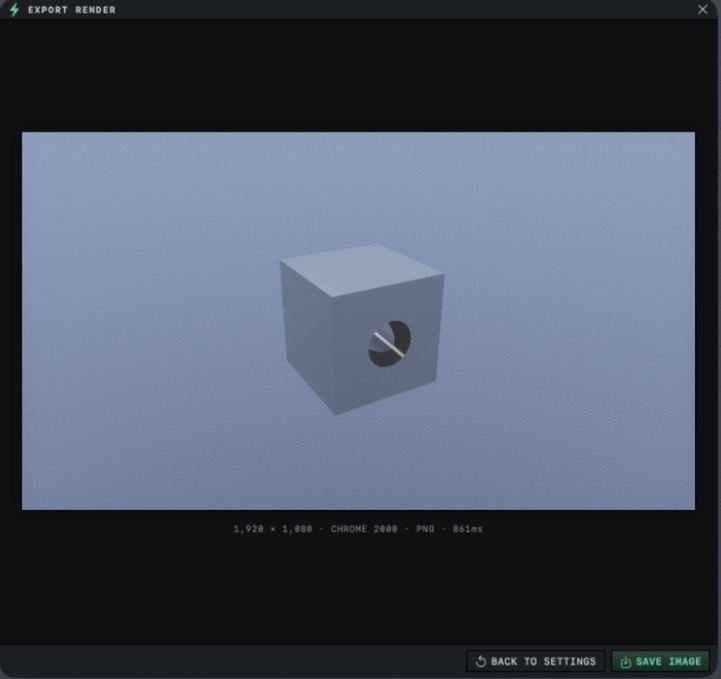
Click SAVE IMAGE, choose a folder and click Save.
The file is a PNG unless you picked another format in the sheet.
The block after the subtraction
The subtraction leaves a mesh, a fixed set of points and faces. The box and the cylinder are gone along with their settings, and nothing records how the hole was made, so no setting can move or resize it later. Because the subtraction is one undo step, ⌘Z pressed right after it brings back both objects as they were, still selected.
With the block selected, the INSPECTOR shows the banner MESH IS EDITED · PARAMETRIC LOCKED, with SIDES and SEGMENTS dimmed below it. RESET TO PARAMETRIC in that banner replaces the block with a plain box; it does not bring back the box and the rod.
Hard edges and SMOOTH ANGLE
Every result from the BOOLEAN menu starts with SMOOTH ANGLE at 30°, in the SHADING section of the INSPECTOR. At the corners of the block and around the rim of the hole, neighboring faces meet at more than 30°, so those edges shade as crisp creases. The wall inside the hole is made of narrow faces that turn only a little from one to the next, and it shades as one smooth curve.
To compare, click the block, then drag SMOOTH ANGLE to 180°. At that setting the shading blends across every edge, and the corners and the rim look soft, although their shape has not changed. Drag it back to 30° to keep the crisp edges.
Union, intersection and the conditions a boolean needs are covered in Combine and cut objects with booleans, and SMOOTH ANGLE on other objects in How Orbit builds objects. To reshape the drilled block by hand, see Edit a mesh point by point.
Next: Make a tentacle ball.