Look around a scene and change its era
You open CHROME BLOBS, an example scene of reflective blobs on a studio floor, and move the camera around it with the mouse and a few keys. Then you try the scene in each of Orbit's five render looks, which set how the finished picture is drawn, and save a render in the one you prefer.
The example replaces whatever scene is open. It opens as an untitled copy, so the original that comes with Orbit is not changed.
Choose File ▸ Open Example….
The EXAMPLES list opens. Each row shows a small picture of an example, a line about it and the look it was built for.
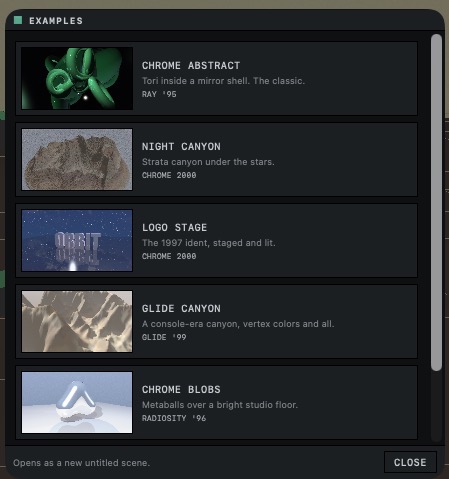
Click CHROME BLOBS.
The example opens, and Orbit shows the message Chrome Blobs was built for RADIOSITY '96.
If the scene you had open has unsaved changes, Orbit first asks Save changes to the current scene? Click Save… to keep that scene as a file, or Discard to close it without saving.
Click APPLY LOOK.
The RENDER card at the bottom right of the window reads Radiosity '96. KEEP CURRENT would have left the look you had before.
Hold Option and drag in the viewport, then scroll.
The camera swings around the blobs in whichever direction you drag. Scrolling, with a mouse wheel or with two fingers on a trackpad, moves it toward the blobs or away from them.
A drag without Option does not move the camera.
Press
2, then3, then4.The camera looks at the scene from directly above, then from the front, then from the right side, and the label at the top of the viewport changes from TOP to FRONT to RIGHT. These views have no perspective, so nearer parts do not look larger than farther ones.
Press
4again.The view turns around to the opposite side, and the label reads LEFT. A second press of
2or3turns those views around in the same way, to BOTTOM or BACK.Press
1.The perspective view returns exactly as you left it when you pressed
2.Click the blobs, then press
F.The blobs are selected, and the camera moves until they sit in the middle of the view. After this, dragging with Option held circles around their center.
While the object is selected, each of its separate blobs can be edited in the viewport. A drag without Option can move one blob or add another, and scrolling with the pointer over a blob changes its size. If a blob changed, press
⌘Z, then press Space to deselect the blobs before you go on. The camera stays where it is.Press
⇧⌘S, then click the SNAPSHOTS tab in the dock, the strip along the bottom of the window.The SNAPSHOTS strip holds a card named Camera 1, a saved copy of the camera angle you had when you pressed the keys.
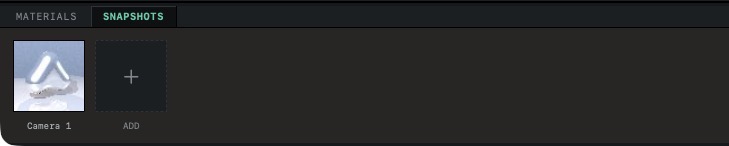
Hold Option and drag to a different angle, then press
⌘1.The camera glides back to the saved angle. Clicking the Camera 1 card recalls it too.
A scene can hold up to nine snapshots, and
⌘1to⌘9recall them in the order the strip shows. Saving the scene stores them with it.In the controls panel at the bottom of the viewport, click Material, the last of the four view icons at its left end.
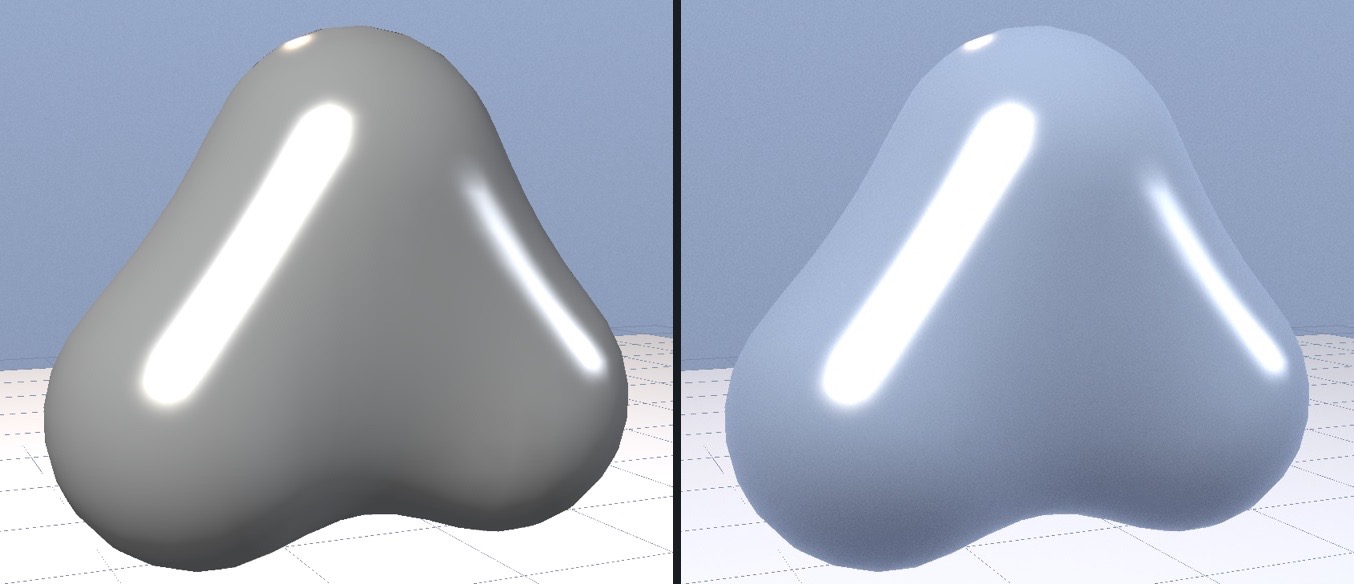
The sky appears reflected in the blobs.
Orbit opens every scene in the Shaded view, which draws lit shapes with no reflections. Material adds the sky to reflective surfaces, but neither view shows the floor or the other blobs in a reflection. To see an icon's name, hold the pointer over it.
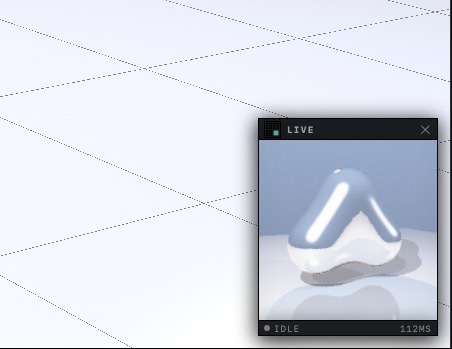
Click LIVE in the same panel.
The button lights up, and the LIVE preview, a small traced picture of the view, opens in a corner of the viewport, the top right unless it was moved to another corner before. Because Orbit traces the preview the way it traces the final render, it shows shadows and reflections of the rest of the scene. It draws a new picture each time you stop moving the camera or changing the scene.
At the bottom right of the window, click the RENDER card.
The RENDER SETTINGS sheet opens with RADIOSITY '96 highlighted under PRESET. The line below the row reads GATHERED BOUNCE LIGHT, COLOR BLEED, SOFT.
Each look under PRESET sets how the render draws the scene, including its shading and colors, its grain and whether edges are smoothed. The era looks describes all five.
Click GLIDE '99, then click DONE.
The card reads Glide '99, and the preview redraws in the new look. The viewport follows only part of a look, such as the size of the highlights, while the preview shows all of it at a small size.
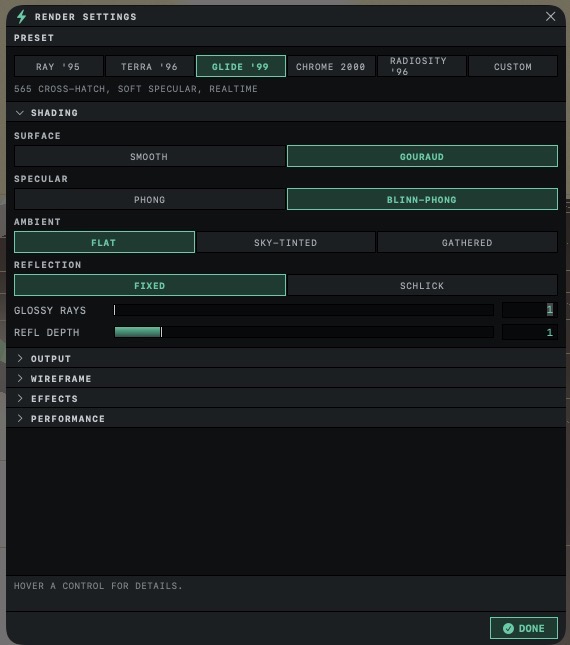
Click the RENDER card again and try RAY '95, TERRA '96 and CHROME 2000 the same way. Leave the look you like best selected when you click DONE.
The preview redraws for each look you pick. The render uses the look that is selected when you start it.
TERRA '96 also shows a banner, TERRA PAIRS WITH FOG. Its ENABLE button adds haze to the scene itself, so leave it alone here. Clicking another look hides the banner.
Click EXPORT RENDER, near the right end of the toolbar, then click RENDER.
The sheet shows RENDERING and a percentage while it works. SAVE IMAGE appears when the render is done.
Click SAVE IMAGE, choose a folder and click Save.
The saved picture shows the blobs in the look you left selected.
The look and the scene file
The look you leave selected stays selected for every scene you open, the examples included, until you choose another. It is one of the render settings that Orbit keeps apart from scenes, which is why each example names the look it was built for and offers APPLY LOOK.
Panning and lost views
Sliding the view sideways is called panning, and it needs a mouse with a middle button. Hold the middle button down and drag. On a trackpad, which has no middle button, click the object you want to look at and press F. The camera centers on that object, and circling and zooming then happen around it.
To get back to a view you lost, press F with nothing selected to bring the whole scene into view, or recall a snapshot of an angle you saved. Undo records no camera moves, so ⌘Z cannot return to an earlier view.