Frame the shot
Turn on RENDER FRAME to outline in the viewport the part of the scene that EXPORT RENDER will draw. Everything outside the outline is dimmed, so you can place the camera for the finished picture while you still see what lies beyond its edges.
Show the frame
Click SETTINGS at the right end of the toolbar.
The SETTINGS sheet opens. Orbit ▸ Settings… opens the same controls in a separate window, which has no DONE and closes with its close button.
Under VIEWPORT HUD, click RENDER FRAME.
The viewport outside the frame dims, and a thin border with brackets at its corners marks the frame. A label at the top of the frame gives its shape and size, such as 16:9 and 1920×1080.
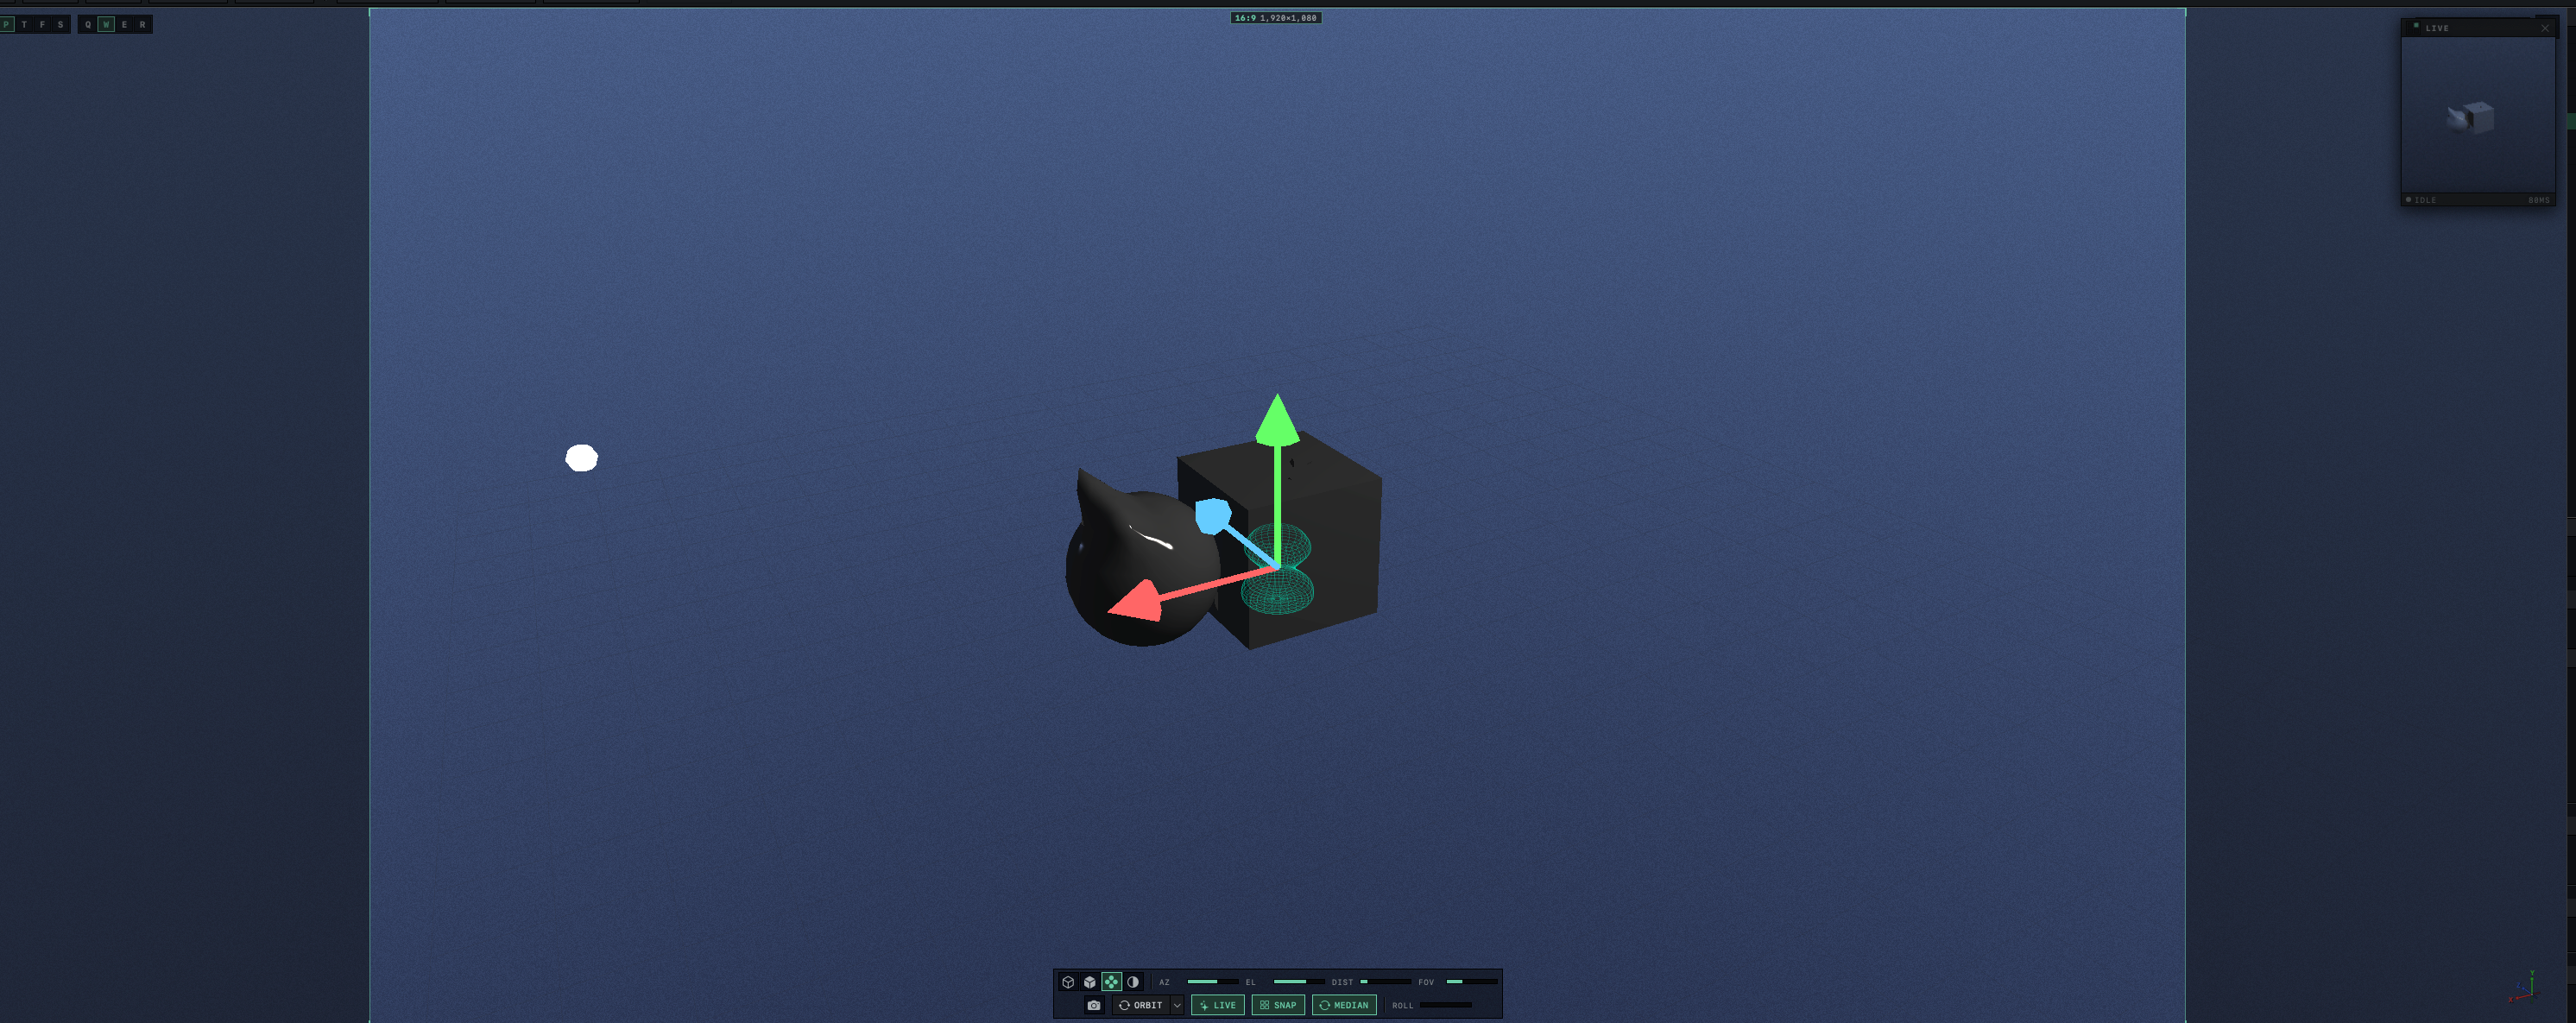
Click DONE.
The frame stays on in the viewport.
Move the camera until the subject sits inside the frame as you want it.
The render shows what lies inside the frame.
The frame takes no clicks, so you can select and move objects inside and outside it as usual. Orbit remembers the setting the next time it starts. To hide the frame, click RENDER FRAME in SETTINGS again.
Match the frame to the render size
The frame takes its shape from the size chosen under SIZE in EXPORT RENDER. The label gives the shape as a ratio of width to height and then the size in pixels. 1920 × 1080 gives a 16:9 frame and 640 × 480 a 4:3 frame. A custom size of 1000 × 700 reads 10:7.
When you change the size in EXPORT RENDER (see Render and save an image), the frame takes the new shape. PIXEL SCALE enlarges the saved file without changing its shape, so it leaves the frame as it is.
The frame and the shape of the viewport
When the frame is wider for its height than the viewport, the viewport zooms out evenly until the whole frame fits, with a dimmed band above and below it. The frame then shows what the render will contain. This zoom affects the viewport alone, and the render is drawn from the camera as you set it.
When the frame is narrower than the viewport, as a 4:3 frame usually is, the view does not change. The frame runs the full height of the viewport, and the dimmed sides show scene beyond the left and right edges of the picture.
Turntables and Loop Studio
While the EXPORT TURNTABLE sheet is open, the frame in the viewport behind it follows the size of the preset selected in the sheet, whether or not RENDER FRAME is on. The presets are listed in Export a turntable.
In Loop Studio the frame is always shown, and FRAMING in the PLAYBACK column sets its shape to SQUARE, 4:3 or WIDESCREEN. FRAMING does not change the size of an export. Each export preset renders its own size, and the presets that match the frame's shape carry a small square marker. The label on the frame gives the ratio alone, and it reads 16:9 for the 4:3 framing as well as for WIDESCREEN; the outline has the correct shape. For the presets, see Export a loop.
Related: Move the camera and change views and App settings.