Preview the render while you work
The Material view puts reflections of the sky on reflective objects in the viewport. The LIVE preview adds a small traced picture in a corner of the viewport with shadows, reflections of other objects and the render look, and redraws it each time you pause.
See the sky in reflective objects
In the controls panel at the bottom of the viewport, click the fourth view icon, Material.
Reflective objects mirror the sky, most strongly toward their outlines. To check an icon's name, hold the pointer over it.
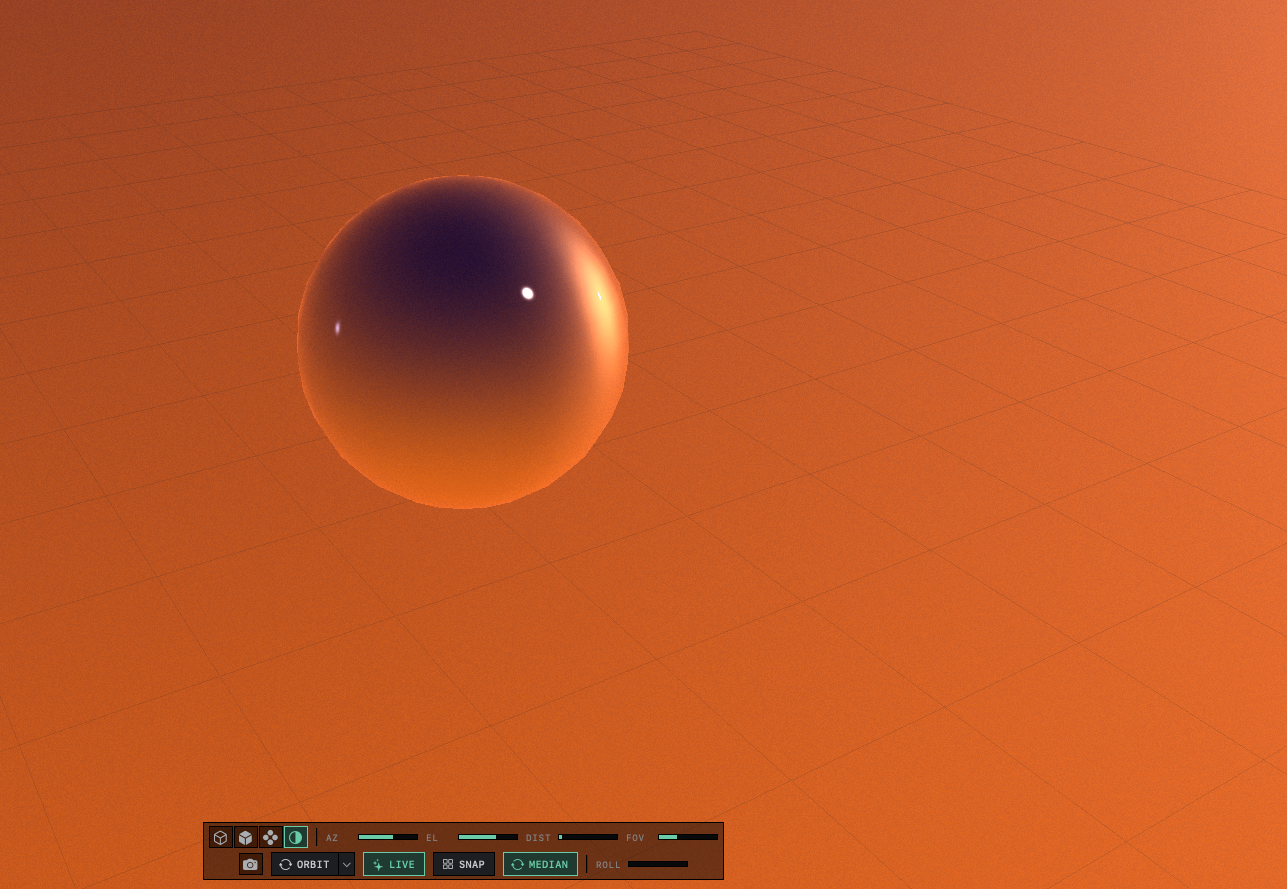
To go back, click the third icon, Shaded.
The reflections disappear from the objects.
The viewport never shows one object reflected in another, in any view, for the reason given in The viewport. The preview and the render trace those reflections.
Orbit does not store the view in the scene file, and every scene opens in Shaded. The command palette also lists VIEW MODE: MATERIAL and VIEW MODE: SHADED; press ⌘K and type view mode.
Open the LIVE preview
In the controls panel, click LIVE.
The button lights up, and a panel titled LIVE opens in the top right corner of the viewport, or in the corner you last moved it to. It reads PREPARING… until the first picture is traced.
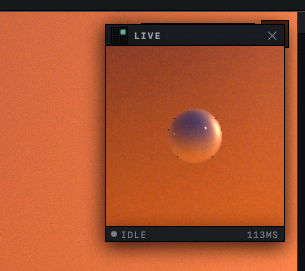
Change something in the scene, such as the color of a material or the position of a light.
About a third of a second after your last change, the line under the picture reads RENDERING… and the picture redraws. When the trace is done, the line reads IDLE, with the time the trace took at its right end.
Hold Option and drag in the viewport, then let go.
The preview waits while the camera moves and draws once the camera stops.
QUEUED on the status line means a trace is waiting to start. A change that would leave the picture the same starts no trace. The command palette item TOGGLE LIVE PREVIEW opens and closes the panel too.
Move or close the preview
At the left end of the panel's title bar, a small grid of four squares marks the panel's corner with a filled square. Click another square to move the panel to that corner of the viewport. Click the X on the title bar, or LIVE again, to close it.
Orbit remembers whether the preview is open, and in which corner, the next time it starts.
What the preview shows
The preview uses the same ray tracer as EXPORT RENDER, on a picture 160 pixels square. It shows shadows, objects in reflections, every light you have not hidden and the whole render look, with its grain, smoothed edges, glow and lens flare. Choosing another look in RENDER SETTINGS redraws it.
| In the preview | Reason |
|---|---|
| The picture is square. A wide render takes in more at the left and right. | The preview shows the same height of the scene as the render at a fixed square size. |
| No depth of field, no transparent background and no WIREFRAME MODE | Depth of field and a transparent background apply only to renders from EXPORT RENDER. The preview ignores WIREFRAME MODE and always shows the traced picture. |
| Detail one pixel wide, such as dither, looks soft. | The panel enlarges the 160 pixel picture slightly and smooths it. |
| The Made with Orbit 3D mark in the corner, in the free version | The second mark is too wide for 160 pixels. |
The preview runs at low priority on half of the Mac's processor cores, which keeps the viewport responsive. The THREADS setting in RENDER SETTINGS does not change it.
Thin edges, distant highlights and other small details can look different at 160 pixels, so check the picture with EXPORT RENDER before you treat it as finished. The viewport, the preview and the render compares the three pictures, and Render and save an image covers the final render.