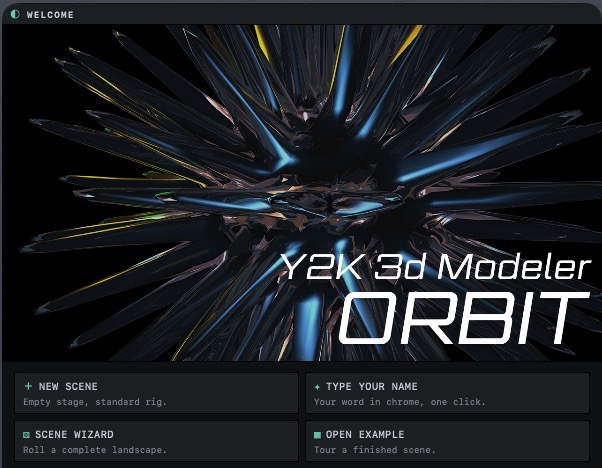
Put your name in chrome
In this tutorial you type a word, and the Scene Wizard builds a logo scene around it with 3D text, a mirror floor, three lights and a low camera. You then render the logo and save it as a PNG file.
Start with the WELCOME sheet open. It appears each time you start Orbit, unless you started Orbit by opening a scene file. If it is closed, press ⌘K, type welcome and press Return.
Click TYPE YOUR NAME.
The SCENE WIZARD panel opens with LOGO selected and the WORD field ready for typing.
Under MATERIAL, click CHROME.
Left on SURPRISE, the wizard also rolls gold and neon logos. With CHROME selected, every roll uses one of its chrome finishes.
Type a word, such as your name, and click ROLL.
Your word appears in the viewport as 3D text standing on a dark floor, lit by three lights.
Click ROLL again for another version; each roll picks a new mood, font and chrome finish. For a starry sky, click NIGHT under MOOD before you roll.
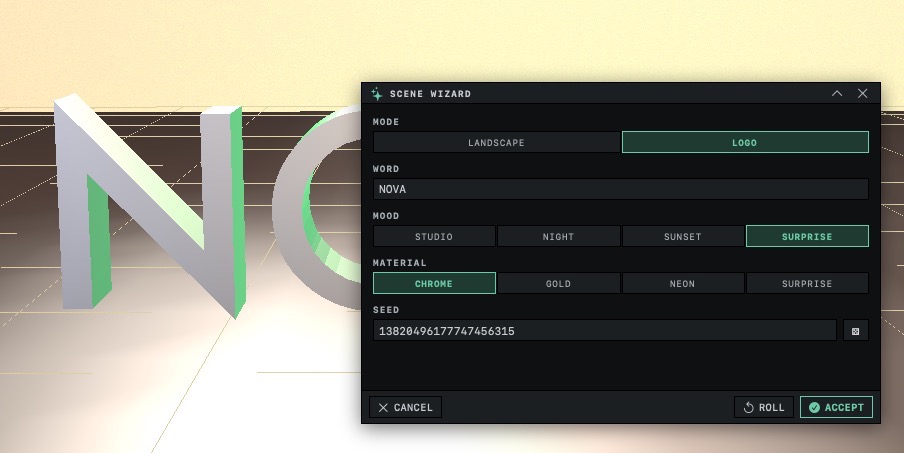
When you have a version you like, click ACCEPT.
The panel closes and the scene stays as it is.
At the bottom right of the window, click the RENDER card. Under PRESET, click CHROME 2000, then click DONE.
The card now reads Chrome 2000. This preset smooths the jagged edges of the letters and keeps the brightest highlights from turning into flat white patches.
Click EXPORT RENDER, near the right end of the toolbar.
The EXPORT RENDER sheet opens. Unless you have changed them, the size is 1920 × 1080 and the format is PNG.
Click RENDER.
The picture fills in tile by tile. When it is complete, SAVE IMAGE appears, and the letters and the floor show reflections that the viewport did not draw.
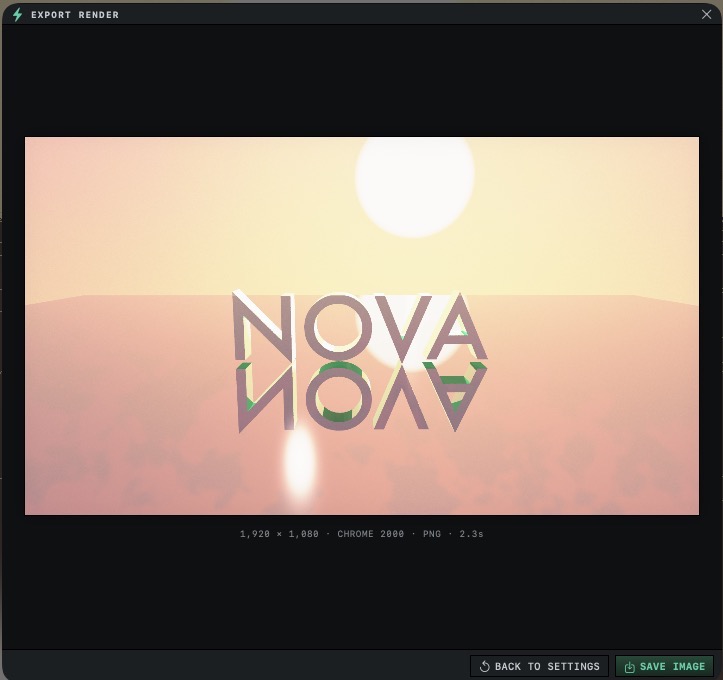
Click SAVE IMAGE, choose a folder and click Save.
Orbit saves the picture as a PNG file named
orbit-render-followed by the date and time. In the free version it carries two small marks, described below.
BACK TO SETTINGS returns to the size and format choices and discards the finished image. Save the image before you click it.
Chrome in the viewport
In the default Shaded view, the viewport shows shape and light but no reflections, so a chrome word looks gray and the mirror floor looks like a dark slab. The render traces reflections, which is why they appear in the finished picture. The viewport, the preview and the render explains the difference and shows how to see reflections before you render.
The marks on free renders
In the free version, each saved image carries two marks: Made with Orbit 3D in the bottom right corner and Get Orbit 3D at www.orbit-3d.com across the center. The full version removes both. The free and full versions lists everything else the purchase changes.